What Is a Highlight Kit?
A highlight kit is designed to help you achieve salon-quality highlights from the comfort of your home. It usually contains all the necessary tools and instructions to create a variety of highlighting styles, from subtle frame highlights to full balayage or foliage.
A typical highlight kit contains:
- Bleaching powder – It lightens your hair to create highlights.
- Developer – It activates the bleaching powder and helps lift the color.
- Toning solution – It helps you neutralize brassy tones for a natural-looking finish.
- Applicator tools – Brushes, caps, or foils for precise application; pay attention to the tools included in your particular highlight kit.
- Conditioning treatment – It restores moisture and smoothness after highlighting.
Preparing for DIY Highlights
Proper preparation is key to achieving the best results with a DIY highlight kit. Follow these steps to make this process smooth:
Hair Condition Assessment
Before applying highlights, assess the condition of your hair. Highlighting can be damaging, especially if your hair is already dry or brittle. If needed, consider doing a deep conditioning treatment a few days before highlighting to strengthen your hair. Also, you might want to consult your colorist to ensure that highlighting won’t wreak havoc on your hair (do this if you feel that your hair is already pretty dry and damaged).
Choosing the Right Shade
Select a highlight shade that complements your natural hair color. For a natural look, choose a shade that is two to three tones lighter than your base color. You can choose slightly lighter tones, but then you will create a visible contrast.
Gathering Supplies
In addition to the highlight kit, gather the following supplies:
- Old towels, clothes, and/or a smock – to protect your clothing and surfaces from spills.
- Gloves – to protect your hands from the chemicals.
- Clips – to section your hair for easier application.
- A timer – to ensure accurate processing times.
Applying the Highlights with Your Highlight Kit
You’ve got everything ready? Now it’s time to grab your highlight kit and get to work. Below, you’ll find the steps you need to follow.
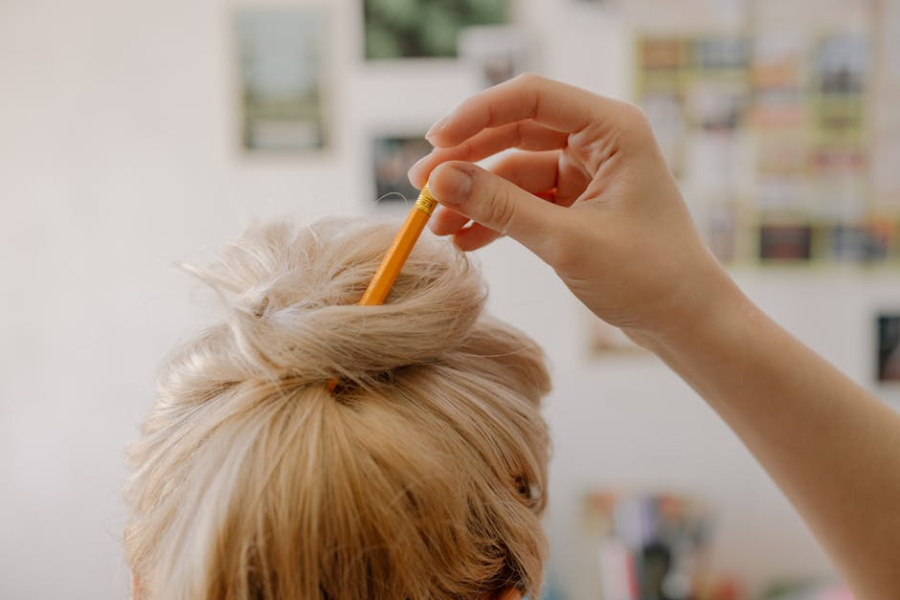
#1 Section your hair
Divide your hair into sections using clips. This helps in applying the bleach evenly and ensures that all areas are covered. For more natural-looking highlights, focus on sections where the sun would naturally lighten your hair, such as around the face and the crown.
#2 Prepare the bleaching mixture
Mix the bleaching powder and developer according to the instructions provided in the kit. Ensure the mixture is smooth and well-blended for even application.
#3 Apply the bleach
Using the applicator tool provided, apply the bleach to the desired sections of your hair. For a subtle effect, apply thinner streaks, and for a more dramatic look, use thicker sections. Make sure to saturate each section thoroughly.
#4 Process the highlights
Allow the bleach to process for the recommended amount of time. Use a timer to ensure you don’t over-process – this could cause heavy damage to your hair.
#5 Rinse and tone
Once the processing time is complete, rinse your hair thoroughly with lukewarm water to remove the bleach. Apply the toning solution to neutralize any brassiness.
#6 Condition your hair
After toning, use the conditioning treatment provided in the kit to restore moisture and smoothness to your hair. Don’t skip this step – highlighting is a heavy process for your hair, so you ought to ensure that you minimize the damage and restore the nutrients.
The Takeaway
DIY highlight kits offer a convenient and cost-effective way to achieve beautiful highlights at home. Now that you know what’s inside them, you understand what you have to prepare, and you’ve learned how to highlight your hair at home, it’s time to put this knowledge to use!